Your wedding date is finalised.
The excitement has begun.
Your family is discussing venues, decorations, catering and guest lists. Somewhere in the middle of all that planning, someone asks an important question.
"When are we sending the invitations?"
Traditionally, creating wedding invitations involves selecting a design, finalising the wording, coordinating with designers and waiting for the finished cards.
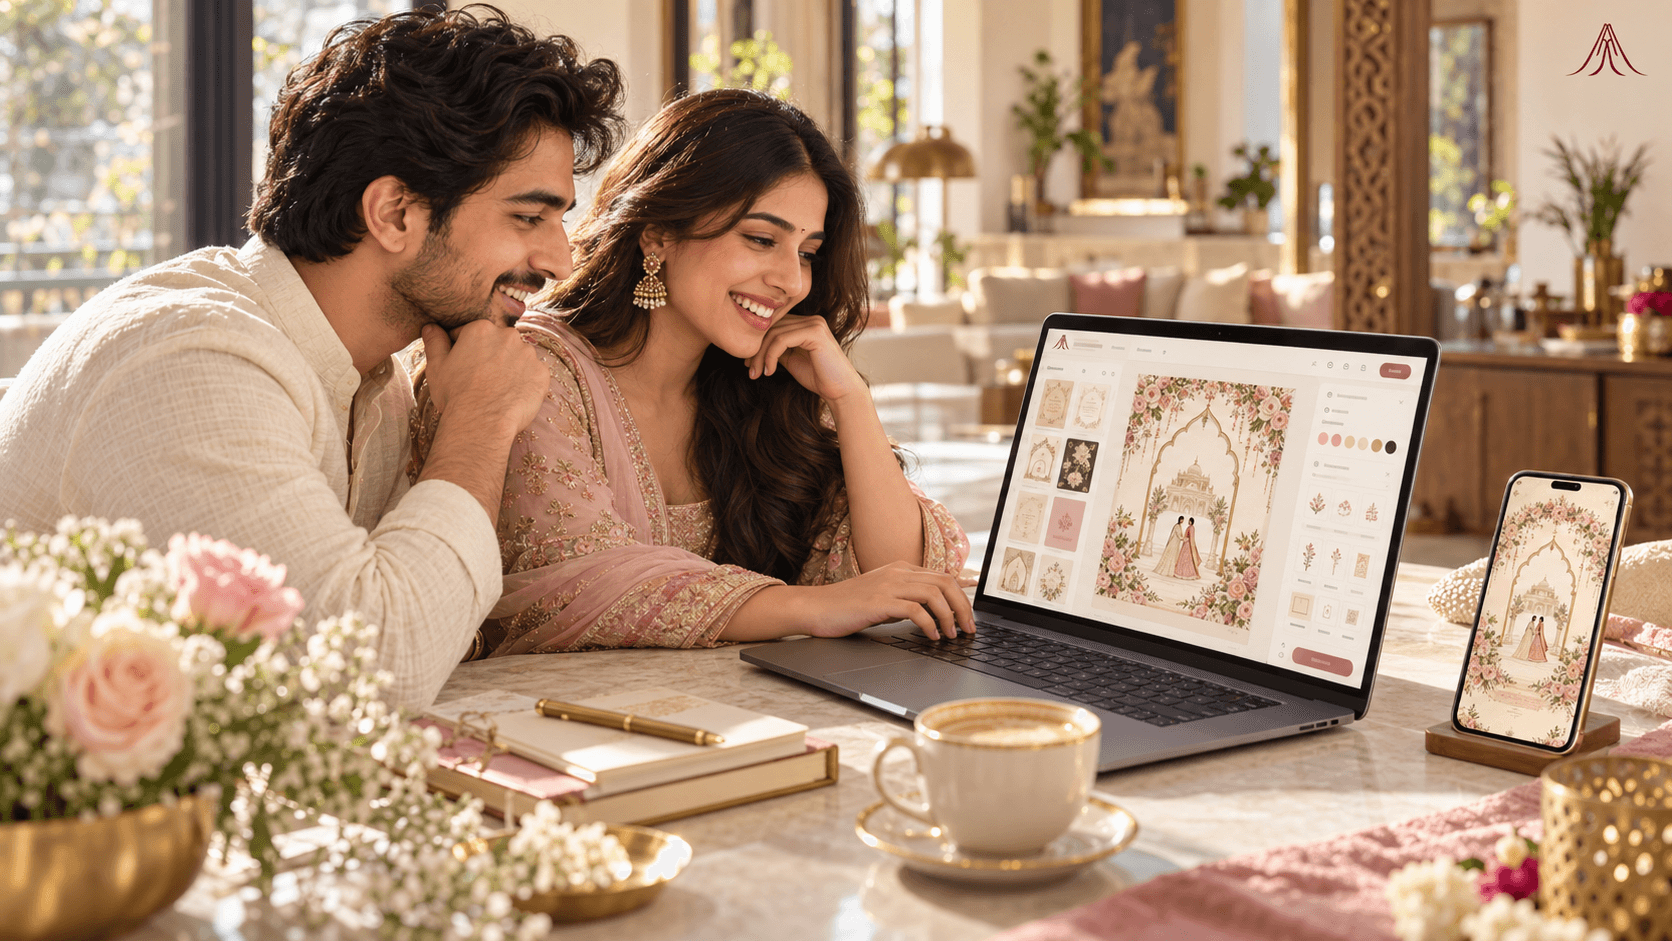
But what if you could create a beautiful wedding invitation yourself in approximately 15 minutes?
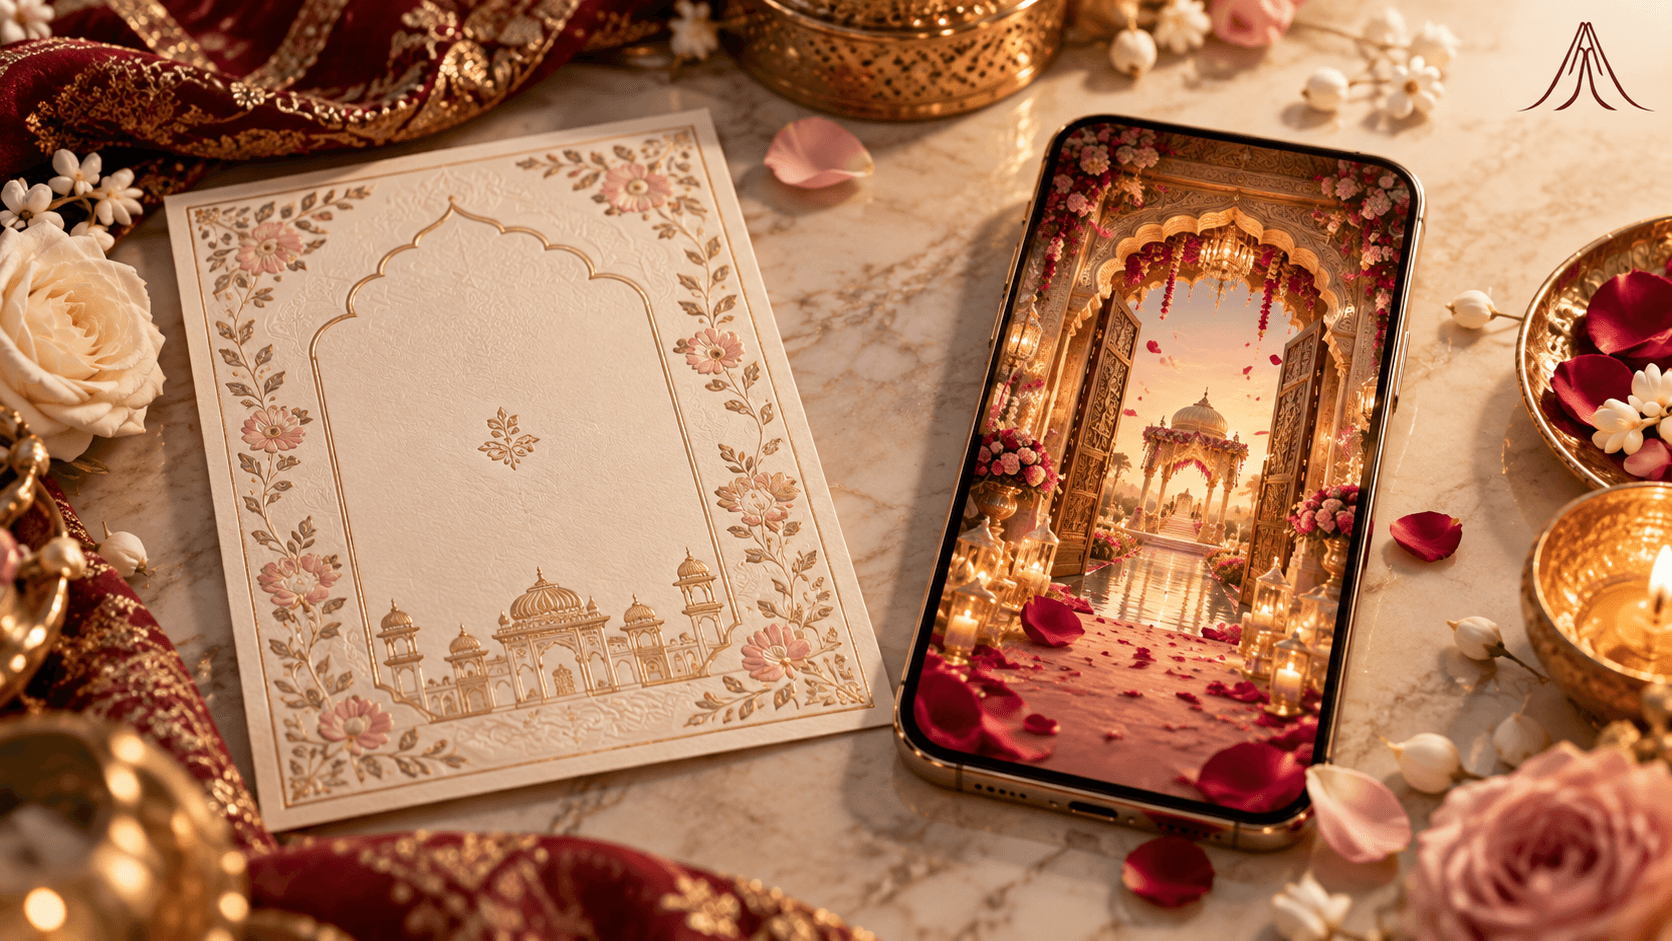
With modern digital invitation platforms, it is possible to choose a design, enter your wedding details, add personal touches and share your invitation through one convenient link.
Here is how to get started.
Step 1: Keep Your Wedding Details Ready
Before creating your invitation, collect the essential information.
Having everything prepared makes the process significantly faster.
You will typically need:
- The couple's full names
- Wedding date and ceremony timings
- Venue names and complete addresses
- Individual ceremony details
- Names of family members you wish to mention
- Your preferred photographs
- Any special invitation wording
- Background music, if required
For weddings involving multiple ceremonies, prepare a separate schedule for each function.
Double-check the spelling of names and venue information before beginning.
Helpful tip: Prepare all the information in one document so that you can copy and paste it into your invitation builder.
Step 2: Choose Your Wedding Invitation Design
Your invitation design sets the tone for your celebration.
Start by identifying the overall atmosphere you want to create.
Are you planning a traditional Indian wedding, a royal palace celebration, a minimalist ceremony or a vibrant Punjabi wedding?
Your invitation should complement that theme.
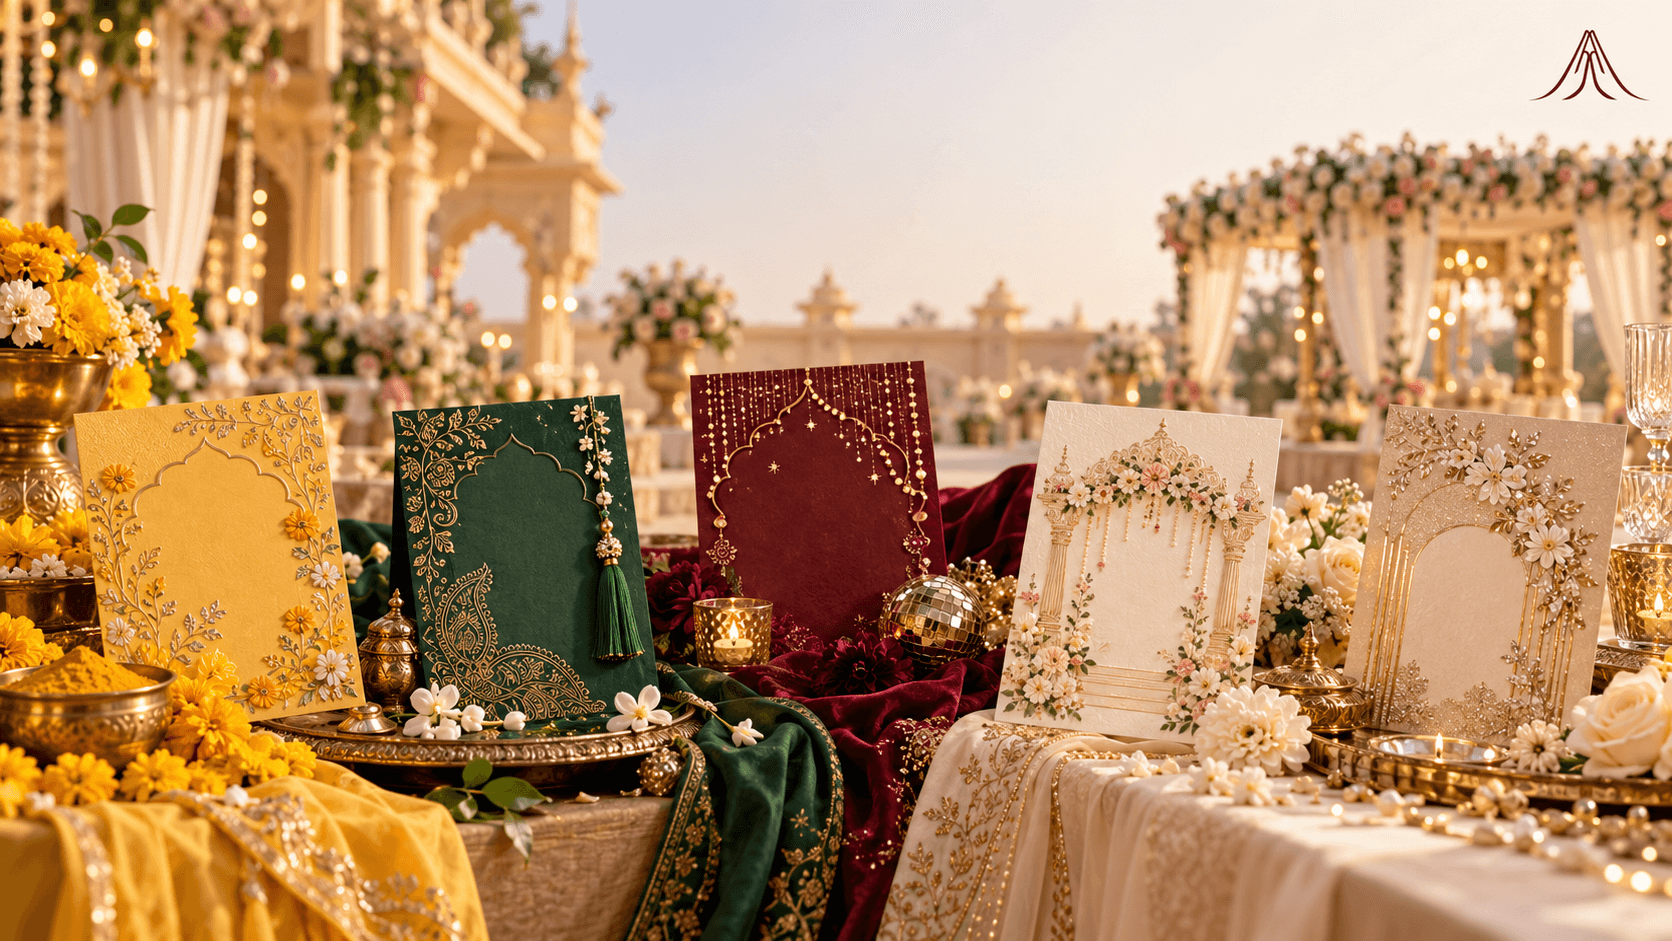
For example, consider a royal design for a palace wedding, a floral invitation for a romantic garden celebration or a cinematic invitation for couples who love storytelling.
Before purchasing, preview the design carefully.
Check its appearance on mobile devices and explore any available animations or interactive features.
With Aamantran, you can browse different designs and open live demonstrations before choosing your invitation.
Step 3: Personalise Your Invitation
Once you select your design, begin making it your own.
Enter the couple's names, family information and invitation wording.
Choose language that reflects your family's traditions and the atmosphere of your celebration.
Your invitation might begin with a traditional family announcement or a more contemporary message written directly by the couple.
Here is an example:
"Together with our families, we invite you to celebrate the beginning of our forever."
For a more traditional invitation:
"With the blessings of our elders and the love of our families, we request the honour of your presence at our wedding celebration."
Personalisation is what transforms a beautiful template into your invitation.
Important: Review all names carefully before confirming them. Some invitation builders have restrictions on changing names after the initial setup.
Step 4: Add Your Wedding Ceremonies
Indian weddings typically involve several different celebrations.
Your digital invitation can help organise these details.
Add your haldi, mehendi, sangeet, wedding ceremony and reception according to your actual schedule.
For every function, include the date, starting time, venue and any additional information guests might need.
For example:
Haldi Ceremony
Date: 14 February
Time: 11:00 AM
Venue: Family Residence
Sangeet Night
Date: 14 February
Time: 7:00 PM
Venue: Grand Celebration Hall
Wedding Ceremony
Date: 15 February
Time: 6:00 PM
Venue: Royal Garden
These details are illustrative. Replace them with your confirmed wedding schedule.
Organising everything in one invitation makes it easier for guests to find the information they need.
Step 5: Add Your Favourite Photographs
Photographs make your invitation personal.
Choose images that represent your relationship and complement the invitation's visual theme.
You might include photographs from your engagement, a pre-wedding photoshoot or your favourite memories together.
Use high-resolution photographs wherever possible.
Avoid images that appear blurry or lose important details when cropped for mobile screens.
If your chosen invitation supports a photo gallery, use it to tell a little more of your story.
Step 6: Choose Your Background Music
Music can create a memorable emotional atmosphere.
If your selected template supports background music, choose a track that complements its visual style.
A traditional instrumental melody may work beautifully with a royal invitation, while a soft romantic track might suit a modern floral theme.
Remember that not every invitation needs background music.
Sometimes, an elegant design with carefully arranged animations works perfectly on its own.
Always preview the audio experience and consider guests who may prefer to browse without sound.
Step 7: Set Up Your RSVP
Your invitation is almost ready.
Now consider how guests will confirm their attendance.
If your chosen invitation supports RSVP functionality, configure it before publishing.
For a wedding with multiple functions, ceremony-wise RSVPs can be particularly helpful.
Guests can select the ceremonies they plan to attend, allowing you to organise your guest list.
Some systems also let guests provide additional details, such as the number of accompanying guests.
Review the available settings and choose the information you need.
Step 8: Preview Everything Before Publishing
Before sharing your invitation, carefully review the entire experience.
Open the invitation on your phone and navigate through every section.
Check the following:
- Are all names spelled correctly?
- Are your ceremony dates and timings accurate?
- Do the venue details match your confirmed bookings?
- Do your photographs display correctly?
- Does the background music work as expected?
- Can guests easily locate the RSVP section?
- Are all important details readable on mobile?
You can also ask a family member to preview your invitation.
A second pair of eyes may catch mistakes you overlooked.
Step 9: Publish and Share Your Invitation
Once everything looks right, publish your invitation.
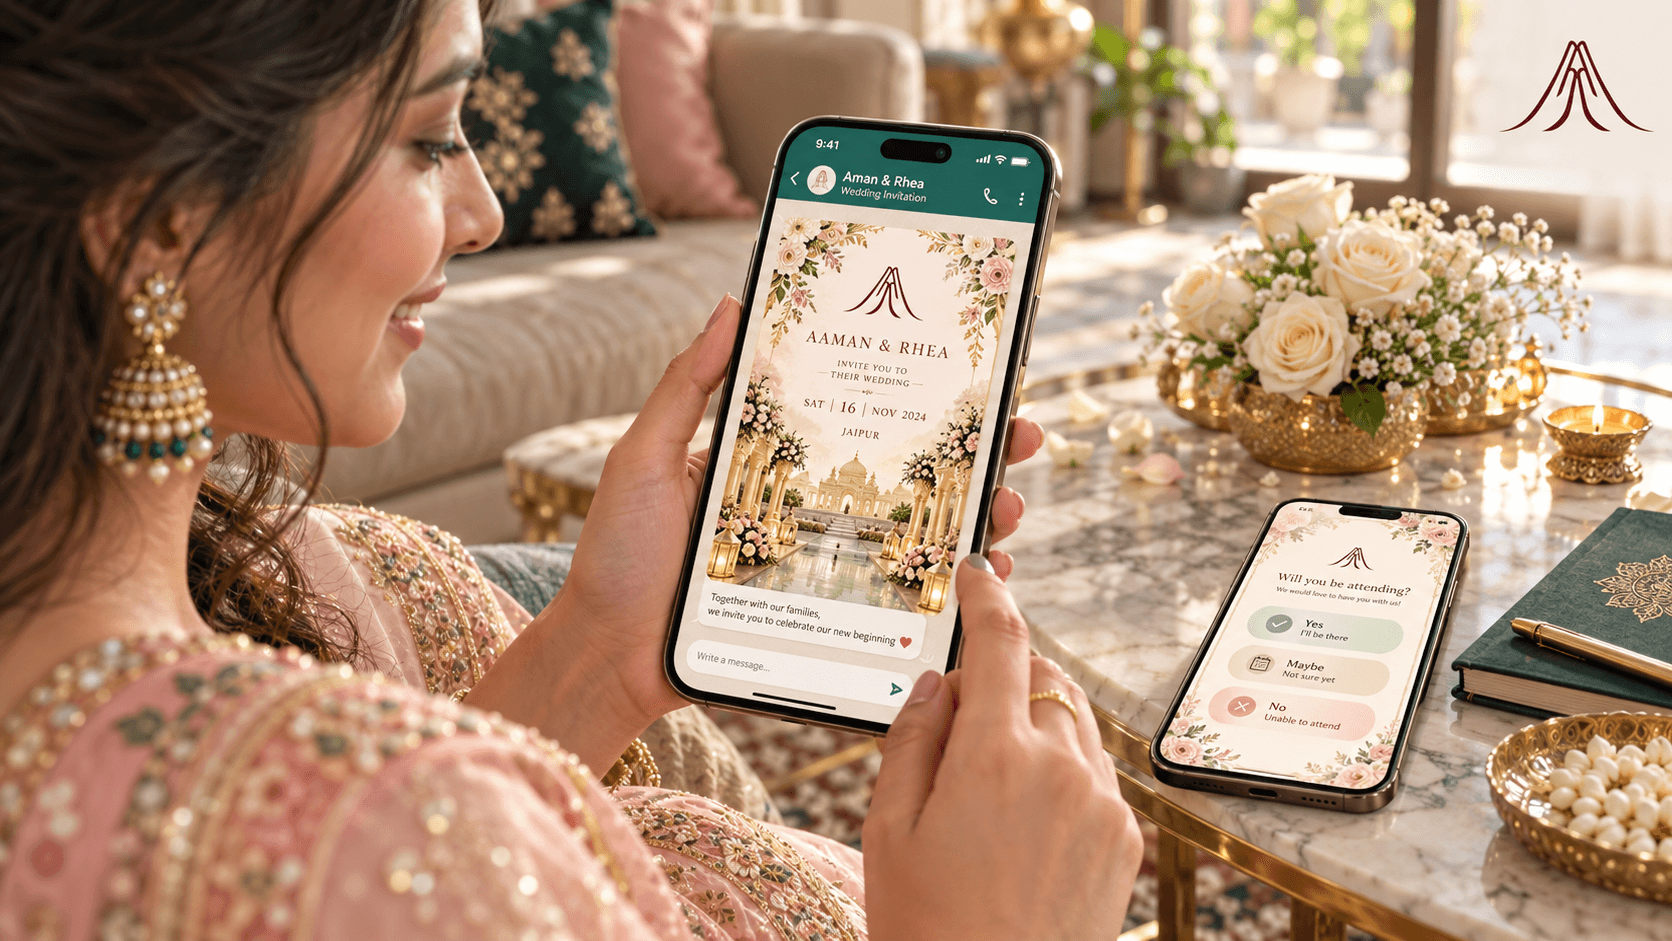
You can now share the invitation link with your guests through WhatsApp, email or your preferred messaging platform.
For a personal touch, include a short message alongside the link.
For example:
"With immense happiness, we invite you to celebrate our wedding. Your presence will make our special day even more memorable. Open our invitation to explore the celebrations and confirm your attendance."
For weddings with different guest groups, check whether your invitation platform supports separate links for selected ceremonies.
Step 10: Track Your Guest Responses
Your invitation has been shared, but your planning continues.
If your invitation includes RSVP functionality, review the responses regularly.
This information can help you coordinate with your venue, caterer and event management team.
Instead of relying entirely on individual messages and phone calls, you can maintain a more organised record of confirmed attendees.
Can You Really Create a Wedding Invitation in 15 Minutes?
Yes, creating a digital wedding invitation in approximately 15 minutes is possible when your wedding details and photographs are ready.
However, the time required depends on the platform, your chosen design and the amount of personalisation involved.
Elaborate invitations with multiple ceremonies, numerous photographs or extensive customisation may take longer.
The goal is not to rush.
It is to make the process convenient enough that you can focus on creating an invitation you genuinely love.
Start Creating Your Wedding Invitation
Your wedding invitation should reflect the excitement and beauty of your celebration.
With Aamantran, you can choose a design, personalise the details, add your ceremonies and share your invitation through one convenient link.
Explore the available invitation designs and discover how simple creating your own digital wedding invitation can be.
Start creating your wedding invitation with Aamantran.
Frequently Asked Questions
Can I create a digital wedding invitation myself?
Yes. Platforms such as Aamantran provide guided builders that allow you to personalise a design without professional design experience.
How long does creating a digital wedding invitation take?
The time varies depending on your chosen design and personalisation. Aamantran indicates that many couples can complete setup in approximately 15 minutes when their information is ready.
Can I add multiple ceremonies to one invitation?
Yes. Aamantran supports multiple ceremonies within a single wedding invitation.
Can I change the venue or timing after publishing?
Aamantran allows most event details, including venue information and ceremony timings, to be edited after publication.